
GUIDES · JUNE 25, 2026 · BY DAVID MELNYCHUK
Deck Inspection Checklist: The 10 Minute Safety Check Every Homeowner Should Do
May is Deck Safety Month, and if you missed it, your deck does not care about the calendar. What it cares about is that another Pennsylvania winter of freeze-thaw and snow load just finished working on its connections, and cookout season is about to put twelve people and a loaded grill on top of them.
The good news: a meaningful deck safety check takes about 10 minutes and one tool you already own. Here is exactly where to look, what each finding means, and the honest cost picture for each level of bad news. Most decks pass. The point is knowing yours did.
Why decks fail without warning
Decks almost never fail in the middle. The boards you walk on are rarely the danger. Decks fail at connections: where the deck meets the house, where posts meet the ground, where stairs meet the deck. And connection failures are sudden. A ledger that has been quietly rotting for five years lets go in one second, usually when the deck is full of people, because that is when the load peaks.
The North American Deck and Railing Association runs Deck Safety Month every May precisely because these failures are preventable with a basic annual check. Emergency rooms see thousands of deck-related injuries every year in the US, and the sad part is how many trace back to a connection that a screwdriver would have exposed in seconds.
The whole toolkit: one screwdriver
Grab a flathead screwdriver. The test is simple: push the tip firmly into the wood at the spots listed below. Sound wood resists and takes a shallow dent. Rotten wood lets the tip sink a quarter inch or more with easy pressure, often with a soft, damp feel. If the screwdriver goes in like the deck is made of angel food cake, you have your answer.
The second use is the tap test. Rap the handle along a board or post. Solid wood gives a sharp knock. Decayed wood gives a dull thud. Probe wherever the sound goes flat. Focus every test where water sits or where wood meets wood, because trapped moisture is where rot lives. End grain, joints, and horizontal surfaces near connections are the addresses.
Spot 1: the ledger board, the one that drops decks
The ledger is the board bolted to your house that carries roughly half the deck load. Ledger separation is the leading cause of full deck collapse, so it gets checked first and hardest.
Probe along the bottom edge of the ledger and the house rim behind it wherever you can reach. Look up at the connection from below: you want to see flashing, a metal or membrane layer lapping over the ledger top, shedding water away from the house. No visible flashing plus water staining below is a bad combination.
Now look at the fasteners. You want hex heads of structural screws or half inch lag bolts in a regular pattern. If the ledger is attached with nails only, that deck was built wrong on day one, and nails withdraw under the cyclic loading a deck actually sees. Also check the gap: a ledger pulling away from the house, even a quarter inch, means the connection is actively failing. From inside the basement, water staining on the band joist behind the deck is the same warning delivered indoors.
Spot 2: posts, footings, and beams
Probe every post within 6 inches of the ground, on all four faces. This is the number two rot location after the ledger, because splash and soil moisture attack the end grain. A post can look perfect and be oatmeal at the core, which is exactly what the screwdriver finds.
Check how posts meet the ground. Best case is a visible concrete footing with a metal post base holding the wood above the concrete. Posts buried directly in soil are on a countdown clock no matter what the lumber stamp says. Check footings for frost heave too: after a Pennsylvania winter, a footing that has lifted or tilted changes the geometry of everything above it.
At the top, look at how the beam connects to the posts. You want the beam bearing on top of a notched post or sitting in a metal post cap. A beam attached to the side of a post with only bolts is legal in some configurations, but a beam held by nails alone is not a connection, it is a suggestion.
Spot 3: joists, stringers, and reading the rust
Probe joist ends where they sit in hangers, and probe stair stringers along their cut edges. Stringers are the most abused lumber on the deck: cut thin, exposed on three sides, and holding a moving load. The bottom of a stringer where it meets concrete is a rot magnet.
Now read the hardware, because rust tells you a story with dates. A light orange surface haze on hangers and fasteners is normal aging: note it, watch it. Flaking, scaling rust that leaves a stain streak down the wood means the zinc coating is gone and the steel is losing cross-section: that hardware is done and needs replacement. White chalky corrosion means the wrong fastener met treated lumber: modern ACQ treatment, standard since 2004, is corrosive to ordinary steel, which is why deck hardware must be hot-dip galvanized G185 or stainless. If your deck was built shortly after 2004 with old-stock hardware, check it extra carefully.
Also confirm every hanger hole has a fastener in it. Builders in a hurry skip holes, and a hanger at half its fastener count carries half its rated load on paper and less in practice.
Spot 4: railings and stairs
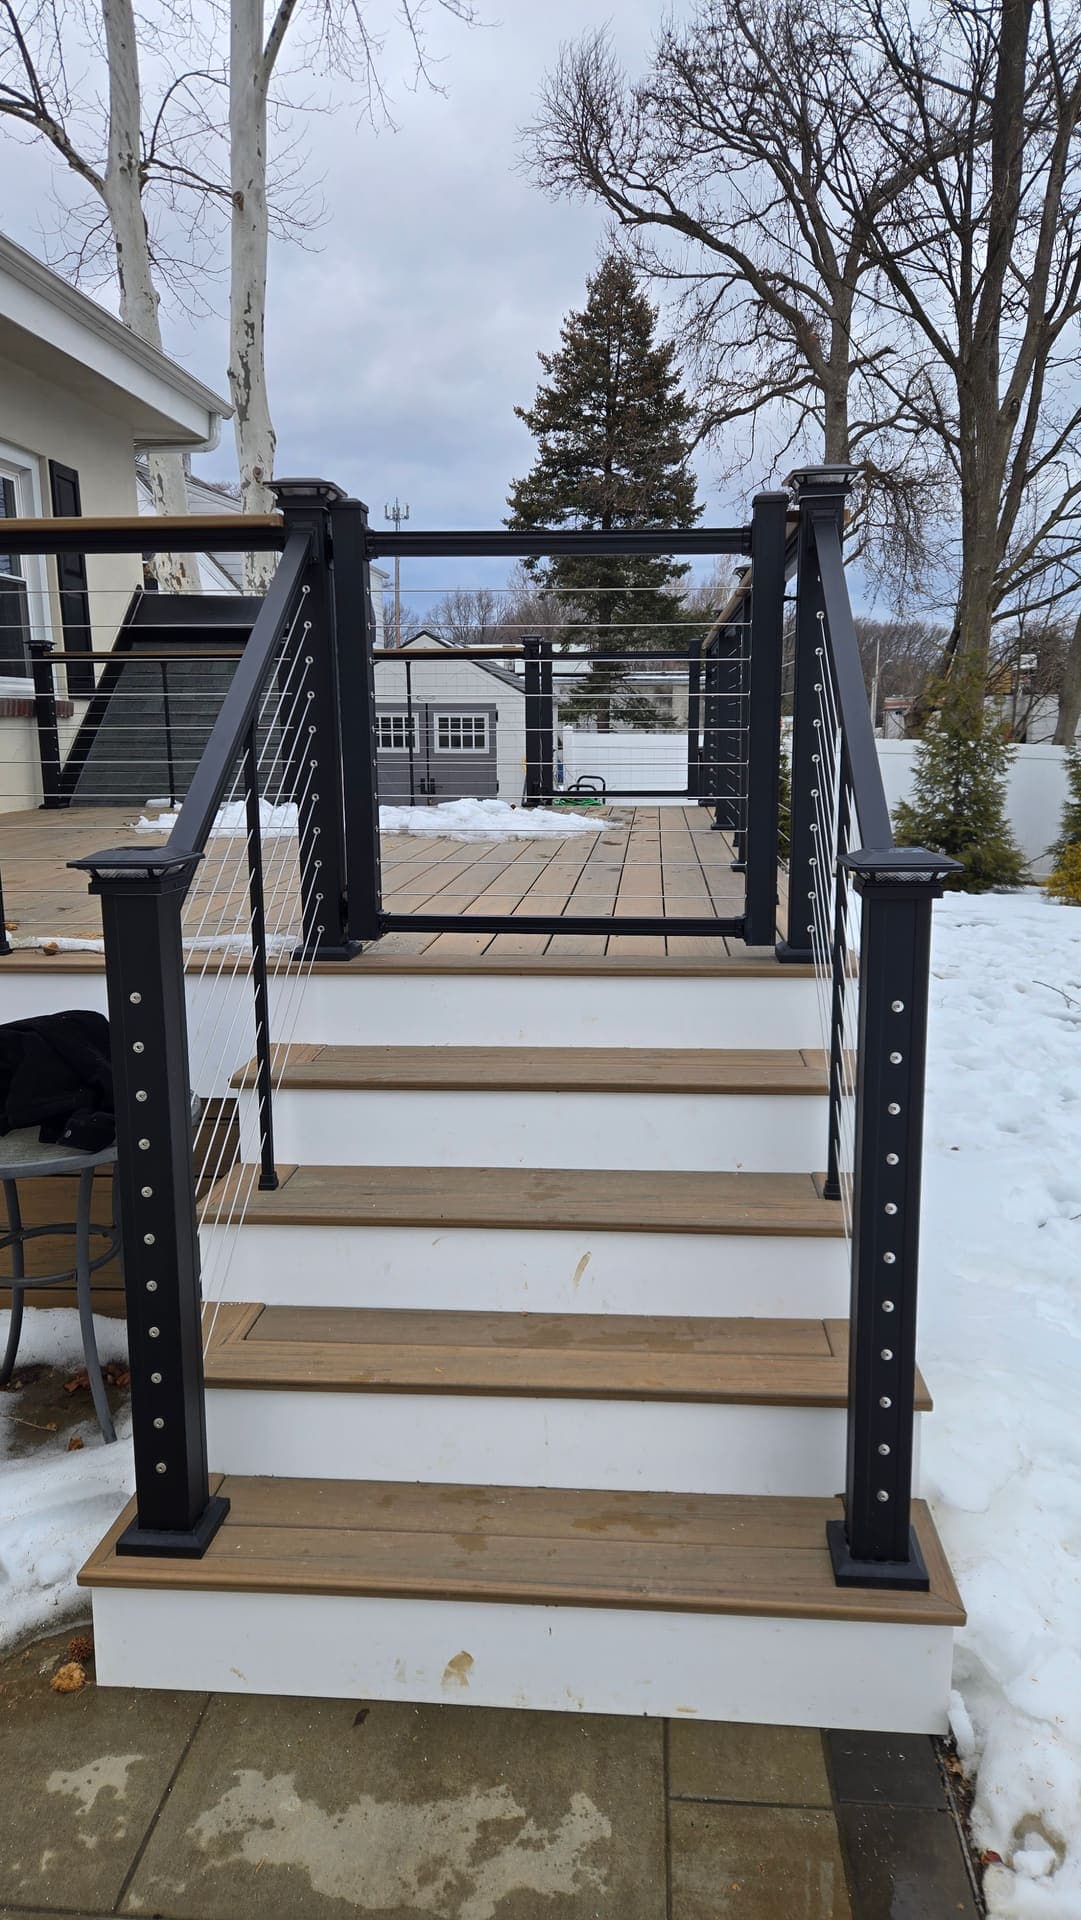
Grab the top rail and push hard, sideways and outward, at several points. Code designs guards for a 200 pound concentrated load, because that is what a stumbling adult applies. Any visible movement at the posts is a fail: wobble today is a gap tomorrow and a fall the day after. Check that balusters reject a 4 inch sphere, which is the code stand-in for a toddler's head.
On stairs, check each tread for movement underfoot and measure riser heights if anything feels off. Risers in a flight should match within 3/8 inch, because your feet memorize the rhythm and an odd riser is a trip built into the architecture. Confirm the handrail is actually graspable, a rail you can wrap fingers around, not a flat 2 by 6 on edge, and that it is solidly anchored. We rebuild a lot of stairs, including a mobile home deck and stairs project in Lebanon, and loose stringers at the top connection are the most common serious find.
What each finding means, with honest costs
Here is the translation table from findings to money, using our real ranges. Around here, deck repair pricing runs a bit above what we charge, since one in-house crew wastes no time between trades, but the structure of the decision is the same whoever does the work.
The pattern to notice: surface problems are cheap, connection problems are moderate, and frame rot is where the math flips toward rebuilding. Our deck resurfacing project in Lebanon is a good example of the middle case: frame passed every probe, so new boards and rails delivered a new deck at roughly half of new-build money.
- Loose railing hardware, sound wood: tighten or upgrade to structural screws. DIY territory, under $50 in parts.
- Wobbly railing run needing rebuild: market quotes typically run $550 to $1,600 per run; ours usually land at $500 to $1,500.
- Rotten deck boards on a sound frame: resurfacing runs about $28 to $48 per square foot around here; our jobs typically land at $25 to $45.
- Failed stair stringers: a rebuilt flight typically runs $1,600 to $4,300 in our market; ours usually come in at $1,500 to $4,000 depending on height and railing.
- Soft ledger, rotted posts, or multiple bad joists: stop spending on parts. That deck is a rebuild candidate, and patching it is throwing money at a structure that has decided to retire.
When the finding means stop using the deck today
Three findings end deck season immediately: a ledger that probes soft or shows any pull-away from the house, a support post soft at the base, and any sag or movement you can feel when people walk. These are not schedule-a-quote-next-month findings. Rope it off, keep the kids and the grill off it, and get a professional set of eyes on it within days. A collapse gives no second warning.
And the honest other side: most decks pass this checklist. If yours sits under 30 inches off the ground and your findings are a couple of rusty screws and one punky board, fix those yourself with $40 of hardware and a Saturday, and do not let anyone scare you into a rebuild you do not need. If your deck is tall, attached, or the screwdriver found something soft at a connection, that is when a professional deck evaluation and repair makes sense. We do them across Lancaster and Lebanon County, and a good one takes under an hour: (717) 210-8194.
Questions we hear a lot
How often should a deck be inspected?
Run the 10 minute homeowner check every spring, after the freeze-thaw season has done its work. Decks over 15 years old, elevated decks, and any deck with a previous finding deserve a professional look every few years on top of that.
How long does a wood deck frame last?
A properly built pressure-treated frame typically runs 20 to 25 years in Pennsylvania. Connections and hardware usually age out before the lumber does, which is exactly why the screwdriver check targets connections, not the middle of boards.
My boards are shot but the frame passed every test. Do I need a new deck?
Probably not. Resurfacing, new boards and railings on your existing sound frame, runs $25 to $45 per square foot on our jobs versus full rebuild money. The screwdriver verdict on the ledger, posts, and joists is what separates the two answers.