
GUIDES · JULY 1, 2026 · BY DAVID MELNYCHUK
Finishing a Basement With a Stone Foundation (Without Ruining It)
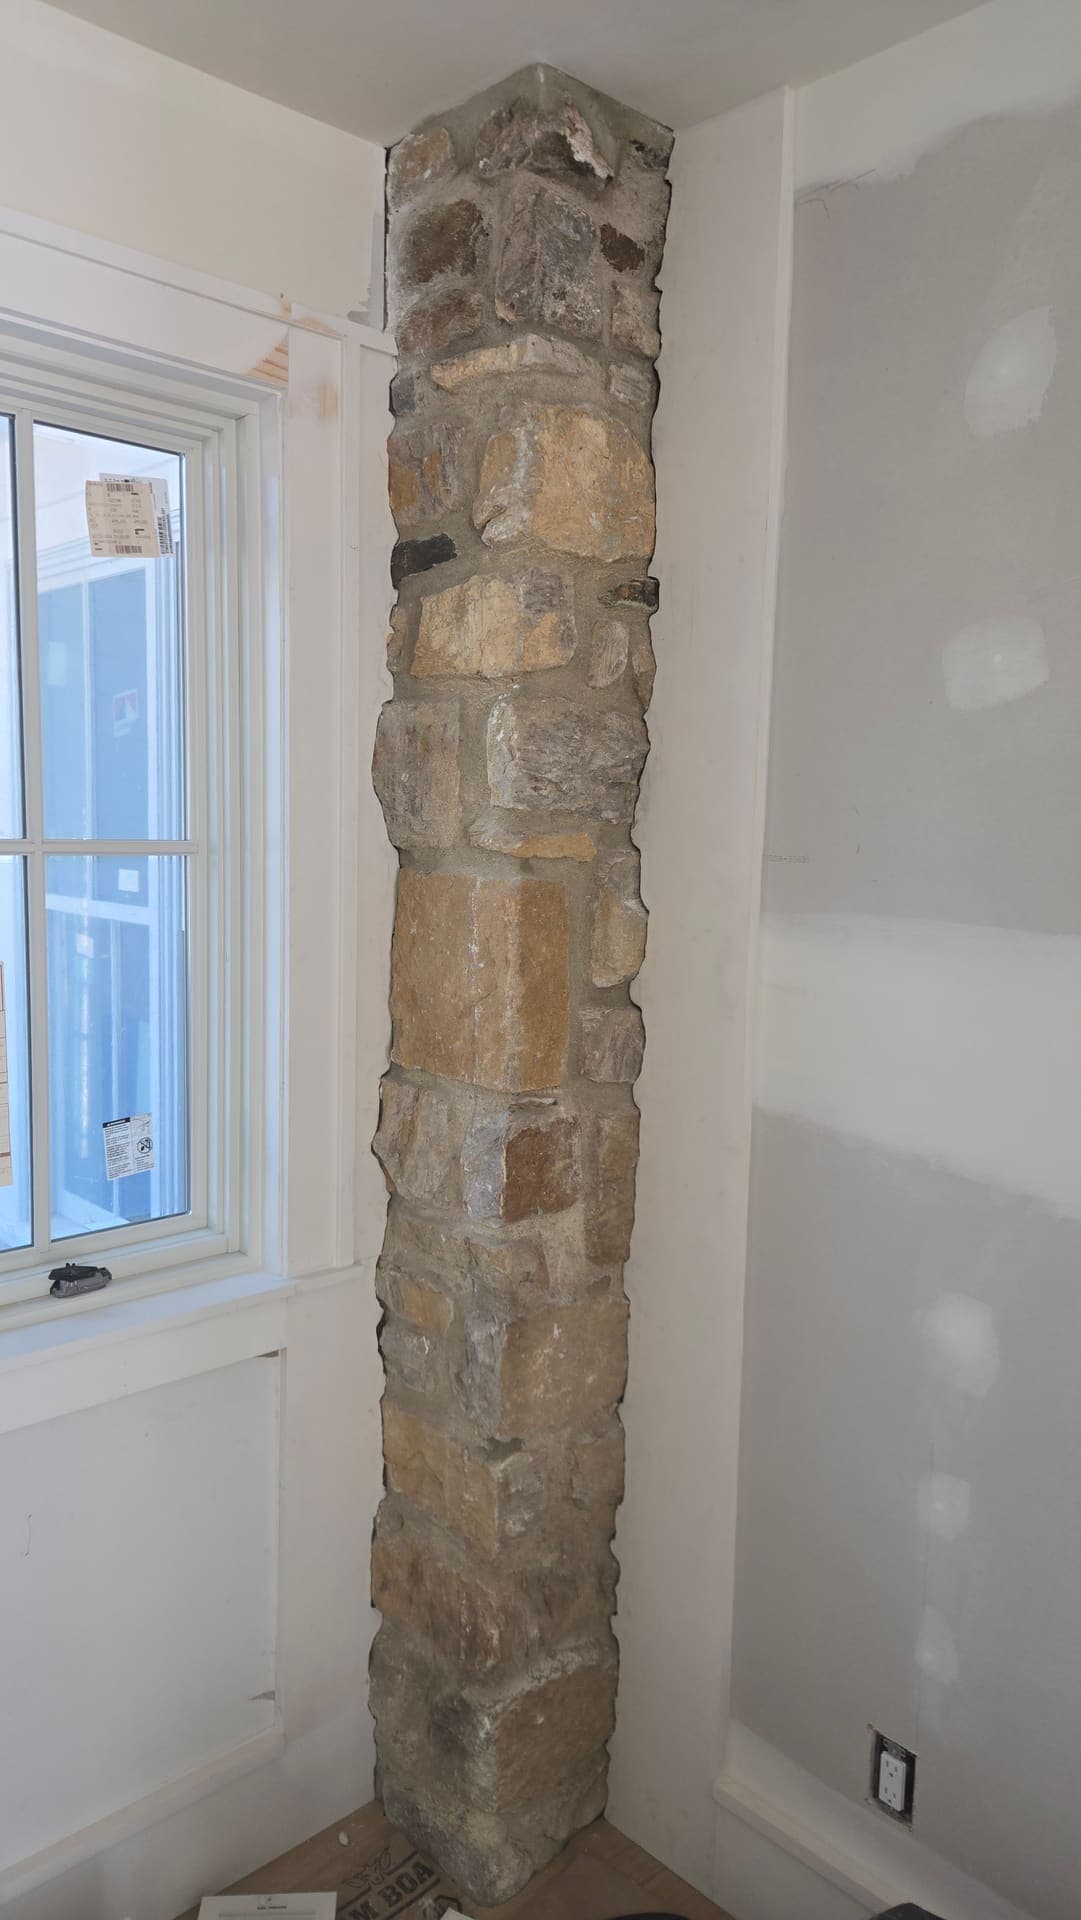
A big share of the housing stock in Lancaster County was built before anyone poured a concrete foundation. Farmhouses from the 1800s, borough rowhomes, stone bank barns converted to living space: under all of them sits a foundation of limestone or fieldstone, stacked by hand and bedded in soft lime mortar. Those walls have held up houses for 150 years, and they will hold yours up for 150 more, if you finish the basement in a way that respects how they work.
Finish it the way you would finish a basement under a 1995 colonial, and you can rot the framing, feed mold behind the drywall, and in bad cases damage the wall itself. Here is how stone foundations actually behave, and how we build against them.
Why stone walls breathe moisture
A rubble stone foundation is not a solid barrier. It is a thick stack of irregular stones with lime mortar joints, usually with no footing drain, no exterior waterproofing, and soil pressed directly against the outside face. Ground moisture wicks into the stone and mortar through capillary action, travels through the wall, and evaporates off the inside face into the basement air. That evaporation is not a defect. It is how the wall stays in equilibrium, and it has been doing it since before indoor plumbing.
The lime mortar matters more than the stone. Lime mortar is soft and vapor open on purpose, so moisture migrates out through the joints instead of through the stone. When someone repoints an old wall with hard modern portland cement, moisture gets trapped in the stone, and in freeze thaw country like ours the stone faces can spall and crumble. Same logic applies to sealers and paint: coat the inside of a breathing wall and you have not stopped the water, you have just trapped it inside the wall where it does damage.
So the entire strategy for finishing against stone comes down to one sentence: let the wall keep breathing, and build your finished space so the moisture coming off it never touches anything that can rot.
Insulation: what works against stone
Insulation choice is where stone basements are won or lost. Two assemblies work, one popular assembly fails, and the Department of Energy insulation guide is good background reading on the general principles:
- Closed cell spray foam, about 2 inches directly on the stone. It follows every bump of an irregular wall, air seals, insulates around R-13, and is its own vapor barrier. This is our default on most stone jobs. It does lock the interior face, so we make sure the wall can still dry to the outside and the site drainage is handled first.
- Air gap membrane systems. A dimpled plastic sheet goes against the stone, creating a drainage channel behind the framed wall, with any incidental water directed to a drain. Insulation then goes on the room side of the membrane. More parts, but it preserves the wall's ability to shed moisture and it is the safer call on walls with a history of seepage.
- Fiberglass batts stuffed against the stone: never. Fiberglass is air permeable, so moist air moves through it, hits a cool surface, and condenses. Against a breathing stone wall, batts become a wet sponge feeding mold inside your finished wall. We have demoed enough of these to state it flatly.
Framing off the wall, not against it
Stone walls are not straight, not plumb, and not sorry about it. A wall can wander 4 inches over a 20 foot run. So we do not fasten framing to the stone at all. We snap a straight line on the slab, hold the new 2x4 wall 1 to 2 inches off the stone at its closest point, and build plumb and straight in front of a wall that is neither.
The bottom plate is pressure treated over a foam sill gasket, because old slabs wick moisture just like old walls. The gap behind the studs stays open as an air space, or gets filled by the spray foam pass. Electrical runs in the new wall like any modern house. The payoff is a finished room with crisp drywall corners standing a hand's width in front of 1870, exactly the approach behind our basement family room in Ephrata.
Expect to lose a little floor area doing this. On a 25 by 30 foot basement, furring out all four walls this way costs you roughly 20 square feet. Clients notice the number and never notice the space.
Exposed stone as the best wall in the room
Not every stone wall should disappear behind drywall. A sound, attractive stone wall, cleaned and repointed, is the kind of feature people pay designers to fake, and yours is real. We often finish three walls conventionally and leave one as exposed stone, usually the wall farthest from grade moisture, and light it properly. Paired with a wrapped beam and clean drywall returns, it reads like a wine country tasting room instead of a cellar.
The rules for the feature wall: repoint failed joints with lime mortar, not portland cement, brush and vacuum rather than sandblast, and skip the glossy sealers. A breathable treatment or bare stone keeps the wall healthy. Budget real money for repointing, since careful joint work runs by the hour and a 25 foot wall can take a mason several days. It is worth it once, done right.
Floors, ceilings, and the rest of the old house
Stone foundation homes bring friends to the party. Some have thin rat slabs or even dirt floors, which need a proper vapor barrier and often a new concrete pour before any finishing talk, at real cost. Ceiling heights are commonly 6 foot 6 to 7 foot at the joists, which is tight math that sometimes ends the project honestly before it starts, and our basement finishing cost guide shows how the budget moves when conditions get old and low.
Old hand hewn joists are usually stronger than they look but rarely level. We strap ceilings flat rather than fight each joist. Mechanicals from three different eras live down there too, and a finish project is the right moment to retire the abandoned oil line and the knob and tube remnants while everything is open.
What we check on the first visit
Every stone basement quote starts with the same 20 minute inspection, and you can run most of it yourself before calling anyone:
- Joist ends and sill beams where wood rests on stone: probe with a screwdriver. Soft wood means repair comes before finishing.
- Mortar joints at eye level and near the floor: sandy, raked out joints mean repointing goes in the budget now, not as a surprise later.
- Bulges and long diagonal cracks, sighted down each wall from the corner: visible movement means a structural conversation before a design one.
- Efflorescence and stain patterns, which map exactly where moisture travels through the wall.
- Headroom at the lowest joist, minus the thickness of any future floor and ceiling assembly.
- Radon. Stone and rubble foundations in this region test high more often than tight poured walls. A $15 test kit now beats a mitigation retrofit after the ceilings are closed, and mitigation itself is a routine $800 to $1,500 job when planned early.
When finishing a stone basement is a bad idea
Some stone basements should stay unfinished, and we say so on the first visit. Walk away from finishing, at least for now, when: water actively runs across the floor in spring, the walls show structural movement like bulging or long stair step cracking, headroom sits under 6 foot 8 to the joists, or the sills and joist ends sitting on the stone show rot that needs repair first. Every one of those problems is fixable, but the fixes come before finishing, not under it.
There is also a budget honesty test. Stone basement finishing costs more than modern basement finishing, and if the numbers only work by skipping the foam, the drainage, or the repointing, the project does not work. A dry unfinished stone basement with good lighting and shelving beats a moldy finished one every single time.
What it costs in an old county home
For context, the going rate around here for finishing a basement runs about $40 to $60 per square foot for a basic finish. Our basement finishing jobs typically land at $35 to $55 per square foot, since one in-house crew carries the job from framing through trim without subcontractor gaps. Stone foundation projects trend toward the upper half of any range, because of the foam, the furring, and the masonry prep, and a full finish with those extras commonly reaches $50 to $75 per square foot.
Get the site drainage and gutters handled before we quote, and the number comes down. Every dollar spent outside the wall saves three inside it.
Questions we hear a lot
Can you finish a basement with a stone foundation?
Yes, if the basement is dry, structurally sound, and tall enough. The build differs from a modern basement: closed cell foam or an air gap membrane against the stone, framing held off the wall, and no fiberglass batts touching stone, ever.
Should I seal my stone foundation walls before finishing?
No film forming sealers or waterproof paint. Stone and lime mortar walls manage moisture by breathing, and coatings trap water inside the wall where freeze thaw cycles damage it. Manage water outside with grading and gutters instead.
What insulation is best against a stone basement wall?
Closed cell spray foam applied directly to the stone is the usual best answer, with dimpled air gap membrane systems as the alternative for walls with seepage history. Fiberglass alone against stone fails and grows mold.